If you’re running a business, most likely you are already managing a Facebook Page, a fundamental necessity for your brand’s success. A Mailchimp Facebook integration can help you gain more subscribers and more leads, as well as many other advantages.
In the contents of this post, you’ll learn how to integrate Facebook and Mailchimp and discover all the functionalities you can benefit from this integration.
Integrating Facebook with Mailchimp
Just like the Mailchimp WordPress integration, connecting Facebook with your Mailchimp account is extremely easy and straightforward. You’ll be able to add a signup form to your Facebook Page, post content to your timeline and publish ads from Mailchimp.
Before starting the integration process, it’s required to have an active Facebook account connected to at least one Facebook Page. Keep in mind that the integration won’t add anything to your personal Facebook profile.
Steps to set the Mailchimp Facebook integration
- Log in to your Mailchimp account and click Integrations.
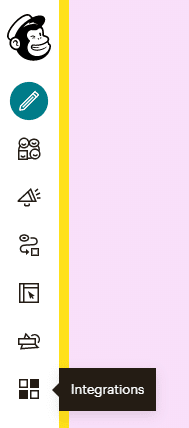
2. Click and expand the Facebook integration details, and click Connect.
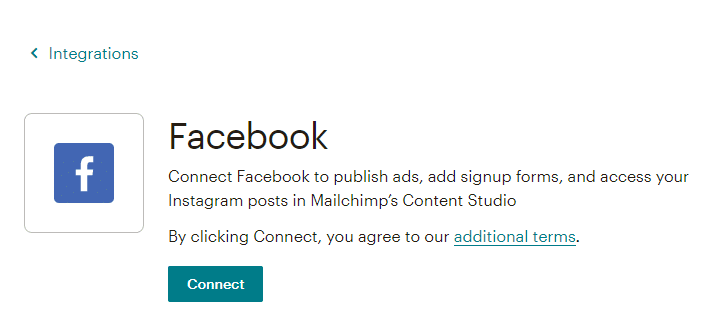
Once the integration is completed, you can start adding signup forms to your Facebook Pages.
Adding a signup form on your Facebook Page
Adding a Mailchimp signup form to your Facebook Page is a great way to use its traffic to your advantage by getting more subscribers to your marketing. You will find the tab under the cover photo, in the left sidebar or under the Apps section on your Page.
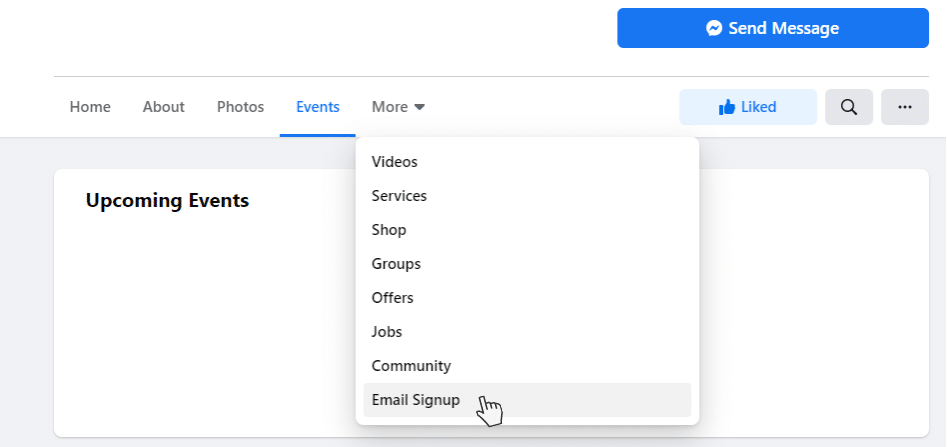
To make it stand out, make sure you rearrange the other tabs in the sidebar, so your visitors won’t miss it.
Find the steps below to add a Mailchimp signup form to your Facebook Page.
- Click Integrations on your left side panel.
- Then, Click Facebook.
- Click Page to use dropdown menu and choose which Facebook Page where you want to display the signup form.
- Click Audience to use dropdown menu and select which audience you want to add subscribers to. This setting can be changed at any moment.
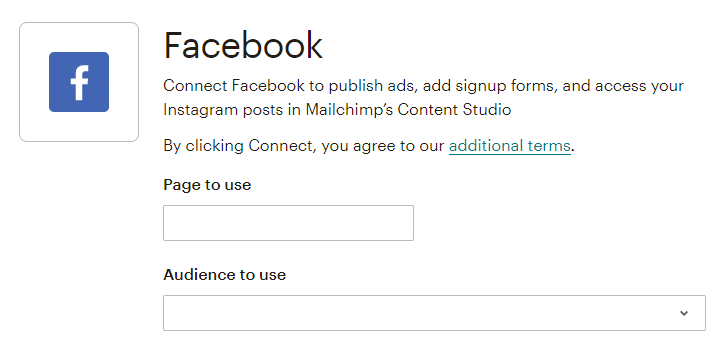
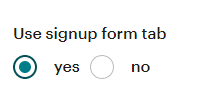
5. Click “yes” under Use signup form tab.
6. Then click the “form theme” dropdown menu below. You can choose your audience’s theme (set by default) or select Facebook-esque.
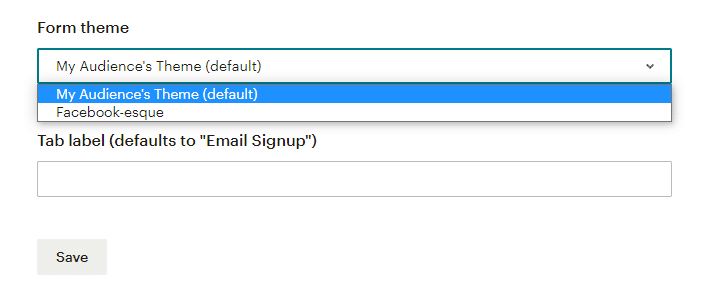
7. Type the text you want to display in your Facebook Page in the Tab label box. If you leave this field empty, the default tab will be displayed: “Email Signup.”
8. Click Save.
What you should know about Mailchimp signup forms in Facebook
- The administrator of a Facebook Page is the only one who can add a signup form.
- Mailchimp signup forms are only available on the desktop version of Facebook.
- If you manage several Pages, you can add one signup form to all of them and assign them to different audiences.
To remove the Mailchimp signup form, go back to the Audience to use dropdown menu and select no audience connected. Click Save.
How to post on Facebook from Mailchimp
In addition, you can create social posts and publish on Facebook from your Mailchimp account. To create a social post, follow these steps:
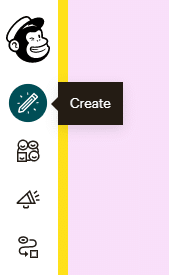
- Click Create on the left sidebar.
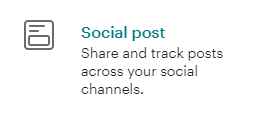
2. Choose Social Post.
3. Select a name for your campaign and click Begin.
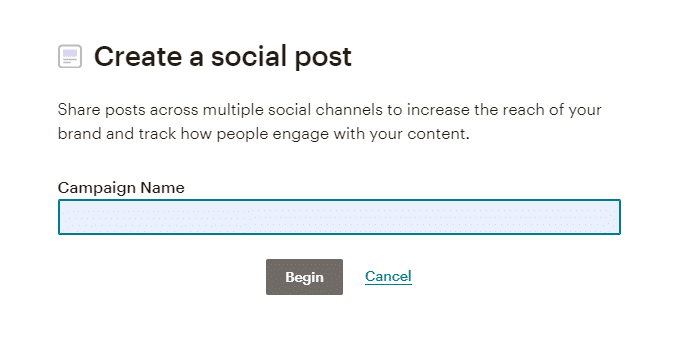
On the social post builder, toggle the Facebook slider. Click Save and Continue.
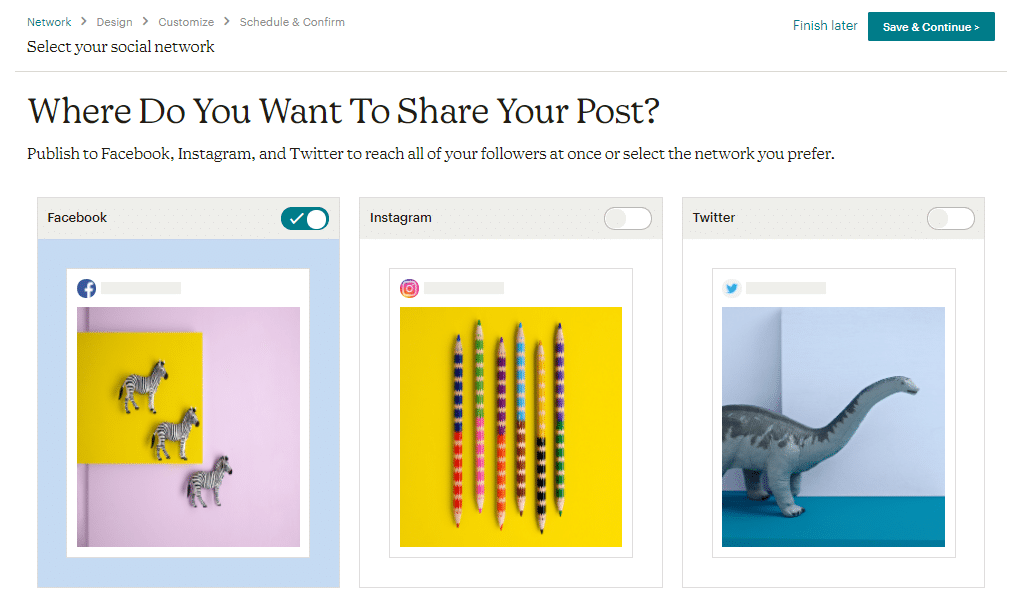
To design your post, you must include text (up to 500 characters) and add your own images (up to 4). After customizing your post, you can publish directly in any of the Facebook Pages you manage.
If your Mailchimp pricing plan is Standard or higher, you can even schedule posts.
Advantages of the Mailchimp Facebook connection
The great advantage of posting on Facebook using Mailchimp is the Social Post Report provided by Mailchimp.
This tool allows you to monitor all kinds of important metrics such as likes, impressions, engagement, shares and reach (to name a few). Mailchimp updates this data every 4 hours during 48 hours after publishing.
Get help from us
Find the right Mailchimp approach for your business with Duckduckchimp, the Mailchimp Agency that can get you tailor-made customizations and help you choose the best strategy for your brand.

No Comments.