
The best way to make your email list grow is to add a Mailchimp signup form to your website. There are two signup methods to choose from in Mailchimp: single opt-in and double opt-in.
If you’re not entirely pleased with the latter option (which is recommended and considered a good practice, reducing bounced emails or cleaned contacts), keep reading to know how to turn off Mailchimp double opt-in and all about opt-in options.
What is the meaning of opt-in?
Most countries require by law that you receive explicit permission from the recipient before sending out promotional campaigns or email marketing communications.
When a customer submits their contact information via a signup form, they’re “opting-in”, thus giving you permission to send them content.
Single opt-in
Single opt-in is the most straightforward opt-in method. It only requires customers to sign up, submit, and their information is added to your audience.
This data includes the user’s IP address, as well as the date and time they signed up, allowing you to have verified permission of each subscription.
It’s especially convenient for mobile devices, as it simplifies the signup process.
Double opt-in
Double opt-in follows the same process, with the only difference that it requires an extra confirmation step. After signing up, the user has to confirm the subscription by clicking a confirmation link via email.
To avoid the email verification process, you must turn off Mailchimp double opt-in.
How to turn off Mailchimp double opt-in
You can turn off Mailchimp double opt-in for one single audience or for all audiences at once. To do so, follow these steps:
For single audiences
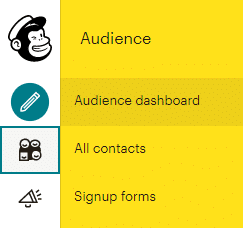
After signing in to your Mailchimp account, click Audience. Choose the audience you want to work with.
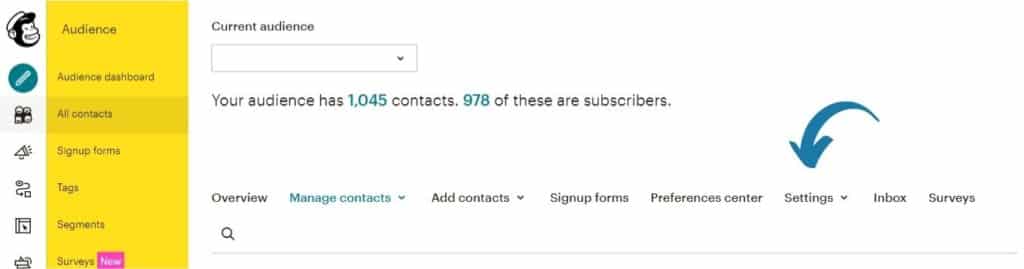
- Click Settings in the menu bar at the top right side of the list. You’ll get a drop down menu.
2. Click Audience name and defaults.
3. Below “Form settings”, you’ll notice the box to Enable double opt-in.
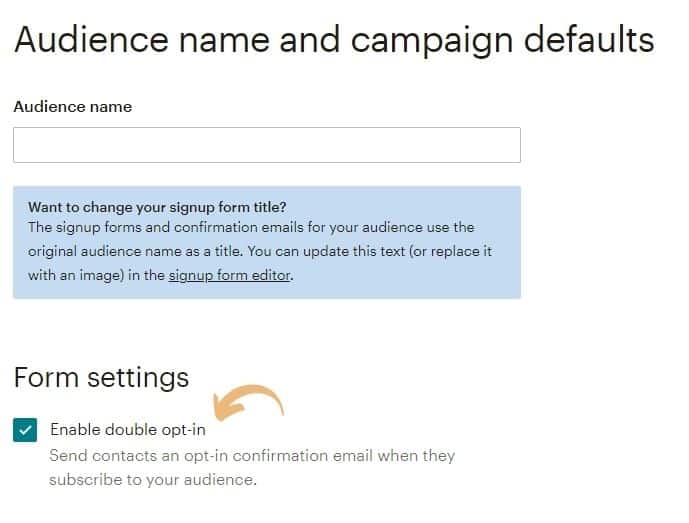
4. Uncheck the box and scroll down to click Save Audience and Campaign Defaults.
For multiple audiences
- Head to your list of Audiences.
- Click Opt-in Settings.

3. Check the boxes next to the audience you want to enable double opt-in. You can also choose to select all.
4. Click Save.
Pros and cons of double opt-in
The biggest benefit of the double opt-in option is knowing that all emails addresses that signed up through this form are valid and verified, as the user has confirmed their subscription and their data (that you could use via merge tags) via email.
It can also help you improve engagement with your customers by customizing your confirmation email.
The downside is that sometimes Gmail users might struggle to find the verification email, as sometimes it doesn't land in the main inbox, but rather in the 'social' or 'promotions' inbox. This could be an inconvinience, as you might be losing valuable subscribers.
Important information about opt-in
By default, all Mailchimp audiences are single opt-in. However, depending on the country your company operates, you may be required to implement double opt-in.
All EU members have to comply with the GDPR (General Data Protection Regulation), yet rules can differ from country to country. In some countries double opt-in is mandatory, while in others the single opt-in option is sufficient.
On the other hand, businesses in the United States have to abide with the CAN-SPAM Act. Nevertheless, being an opt-out country, only an identifiable option to opt-out to receive any future communication is required, such as an unsubscribe button.
Get help from us
Find the right Mailchimp opt-in option for your business with Duckduckchimp, the Mailchimp Agency that can get you tailor-made customizations and help you choose the best strategy for your campaigns.
No Comments.