Creating and publishing a Mailchimp landing page is the first step to make your email list grow, but that’s just the tip of the iceberg.
A landing page can be instrumental in building your brand online, plus they're unlimited and free with Mailchimp. In this article we'll show you how to create a landing page with Mailchimp and all its advantages.
What is a Mailchimp landing page?
A landing page is an independent web page that is meant to achieve short term marketing objectives. It’s an extremely versatile tool that you can use to simplify your marketing needs.
What are landing pages for?
They can be useful to showcase your products, help you get more subscribers, drive sales by promoting a special offer and most importantly build your business.
A landing page is an essential marketing tool and Mailchimp makes it really easy to start creating one. Unlimited, free landing pages are available in all Mailchimp pricing plans, so you can create as many as you wish. They’re also very easy to share as well.
How to create a landing page in Mailchimp
- Search the left sidebar and click Create.
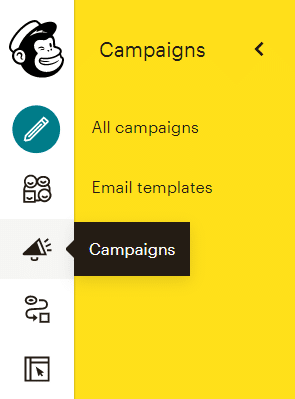
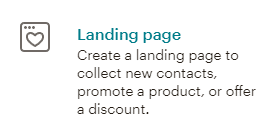
- 2. Scroll down the list and choose Landing Page.
- Type the name to identify your landing page. (This name won’t be visible to visitors).
- Select the audience you want to work with. (Keep in mind that the audience can't be changed once the landing page it’s published).
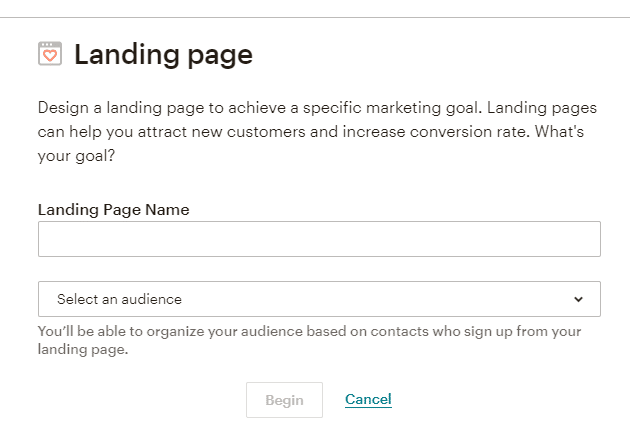
- Click Begin.
Designing your landing page
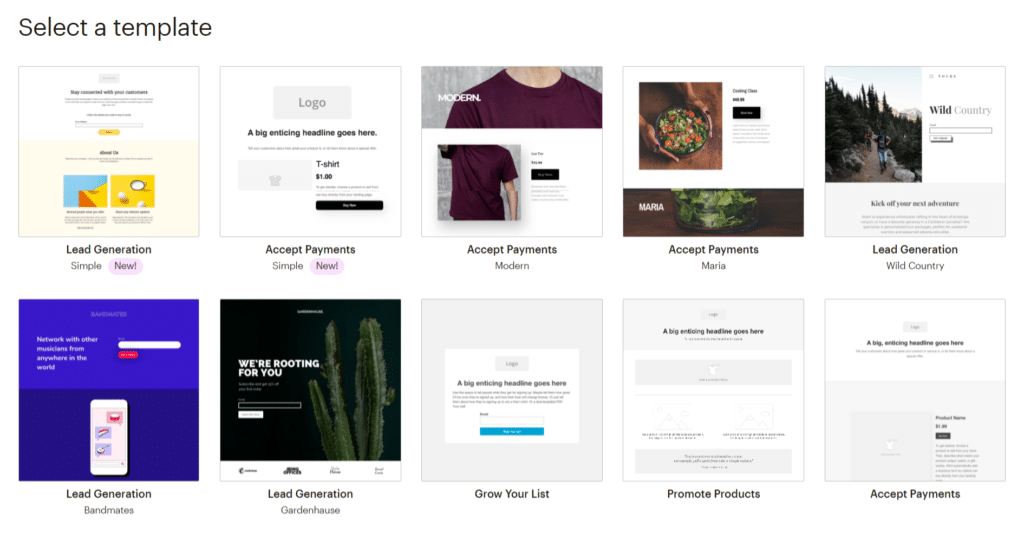
After setting up the basics for your landing page, it’s time to start on the design. There are several types of Mailchimp templates and a total of 10 to choose from, depending on your marketing goals.
Types of templates
Basic templates
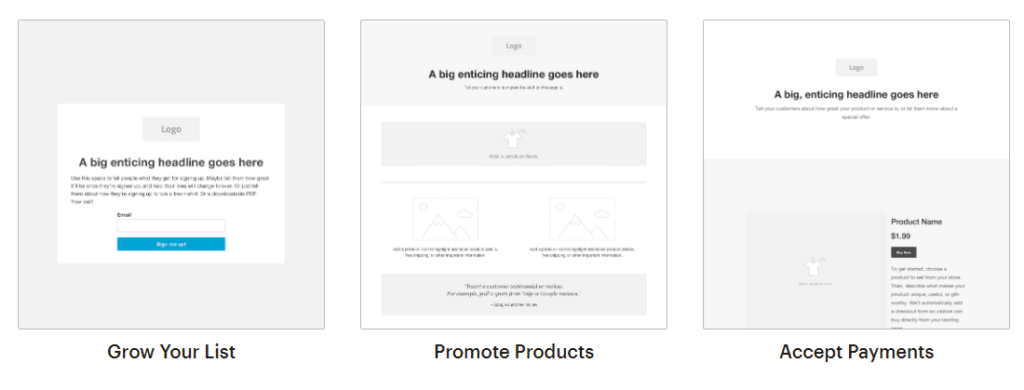
As their name implies, the basic templates are meant for specific landing pages. These feature a logo block type where you can place your default company logo.
- Grow your list. This particular template is designed to encourage visitors to subscribe to your audience, as it comes with a signup content block. You can add an interest group to ask visitors to sign up for a specific group.
- Promote products. Use this template to insert a product or service. To do so, you must connect to a supported e-commerce store or custom API 3.0 integration.
- Accept payments. It includes a payment content block so you can sell products directly on your landing page, by connecting Mailchimp with platforms Square and Stripe.
Lead generation templates
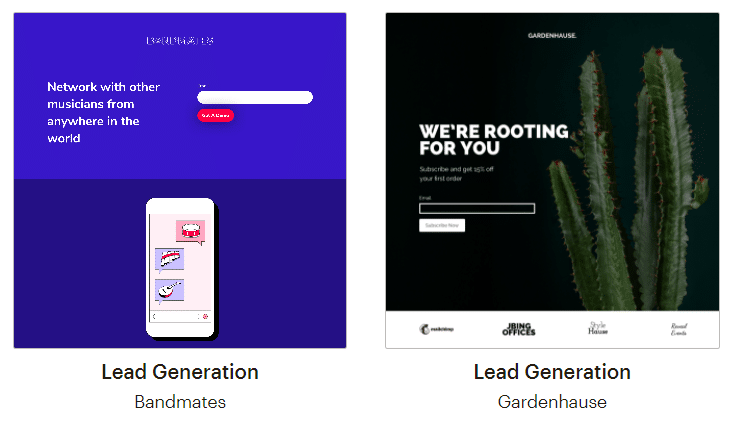
You can also choose to use lead generation templates which are themed, inspirational templates that include a custom signup form and blocks you can edit to personalize.
There are more “Accept Payment” templates, like the “Modern” and “Maria” templates, which already feature payment content blocks, plus customizable buttons, text, image + caption blocks.
Once you’re done, you can click Preview to see what your landing page will look like. All Mailchimp landing pages are responsive, so you can be sure they’ll look great on any device.
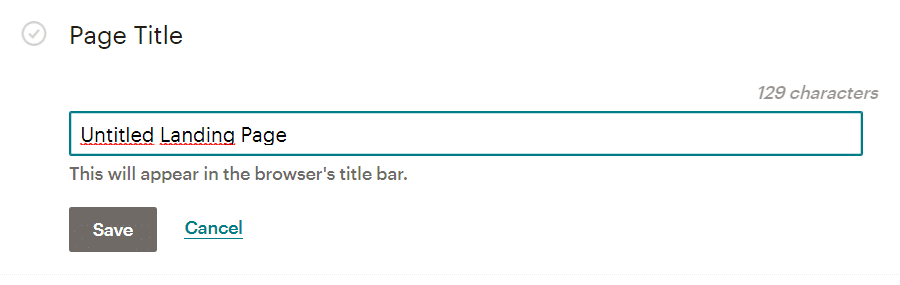
Type a page title
In this next step, you must choose a title for your landing page. This title will be visible to visitors, so make sure to choose something that describes the motivation for this landing page.
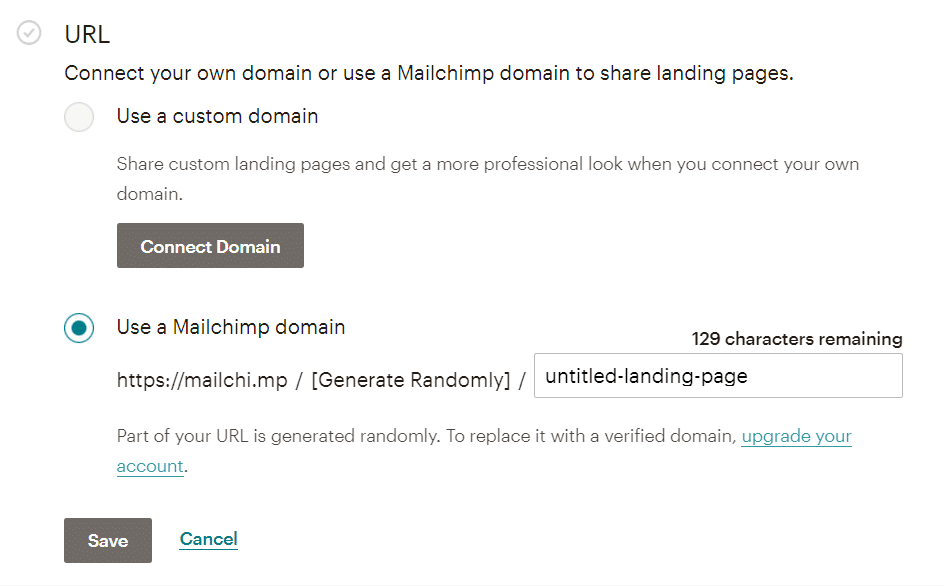
Create a free URL
Mailchimp allows you to create a free URL for your landing page using the Mailchimp domain. Part of the URL is generated at random, but you can type a description for the rest of the URL.
You’ll need to upgrade if you want to use a custom domain.
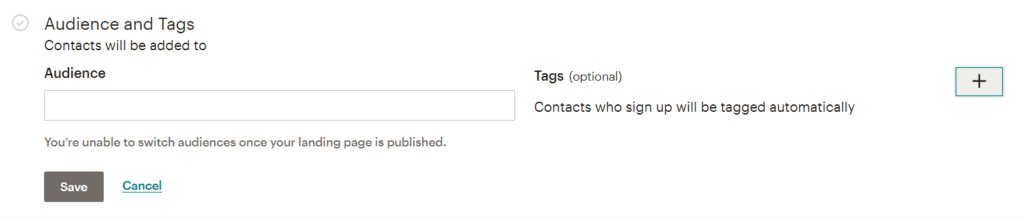
Choose an Audience and Tags
Now you can confirm or edit the audience you want to associate with the landing page. If you didn’t include a signup form, you’ll see this section is simply named Audience.
If you included a signup form, you can add or select up to 5 tags and all the new subscribers you get through this landing page will be tagged automatically.
Edit settings and tracking
Before publishing, you must choose the way your landing page will be tracked: Mailchimp, Facebook Pixel or Google Analytics. You’ll also be noticed if reCAPTCHA is enabled or not.
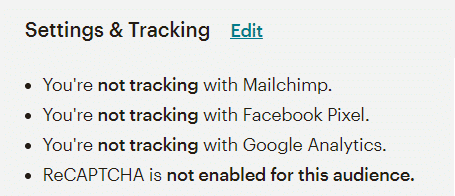
Click Edit and check the boxes for the tracking options you want to enable.
- Tracking with Mailchimp will let you see the number of unique visitors and the amount of conversions, or contacts subscribed.
- Choose to track with the Facebook Pixel to collect information and create Facebook ads to retarget the users who viewed your landing page.
- Finally, you can also use Google Analytics to gather more precise data about who visited your page. To enable, just enter your Google analytics ID.
Publishing your landing page
Now you’re ready to publish your landing page.
Take into account that once you click the publish button it will be live on the web but it won’t be indexed. You need to share the link provided to start driving traffic.
Even after publication, you can still edit, unpublish it and delete if you wish. (The URL will display a 404 message if you unpublish or delete it).
We don’t recommend deleting a landing page because you’ll lose all the data stored in the landing page report. We firmly recommend to unpublish instead of deleting.
Track with Mailchimp feature
Monitor the performance of your landing page with the Track with Mailchimp feature. It will give you further insight as it records page views, number of unique visitors, conversion rate and link clicks, tracking all behavioral aspects directly into your contact’s profile pages.
Follow these steps to turn on Track with Mailchimp:
- Click All Campaigns in the left sidebar.
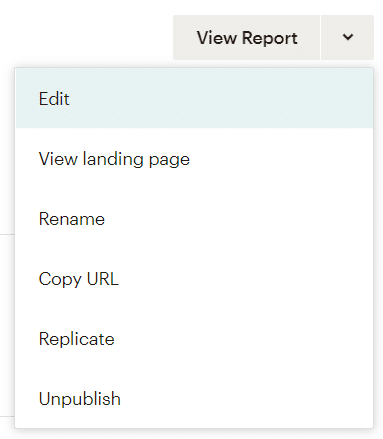
- Choose the published landing page you want to enable tracking.
- Click Edit on the drop-down menu.
- Locate the section Settings & Tracking and click Edit.
- Check the box Track with Mailchimp.
- Click Save and you’re ready to go! You can view all the data track in landing page reports.

Enabling a notification bar to opt-out
In addition, you can enable a notification bar to inform first time visitors the use of cookies to collect information for tracking purposes. This bar allows visitors to opt-out and decline tracking.
Check these steps to enable and edit a notification bar with an opt-out link.
- Locate the landing page you want to work with. Click Edit on the drop-down menu.
- Click Edit design.
- In the landing page builder, click Style, then Notification Bar.
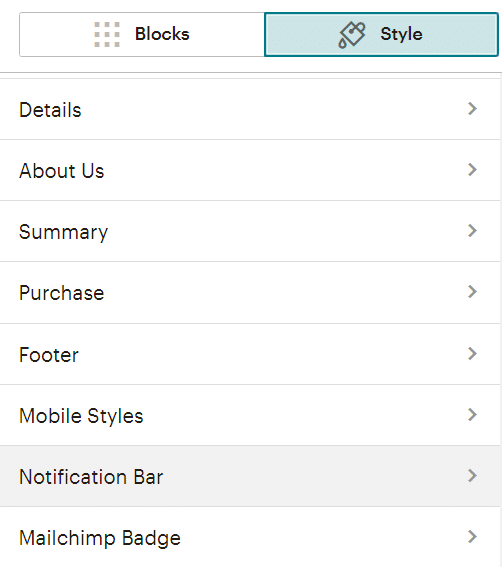
- Toggle the Enable Notification Bar on. Here you can choose a background color and edit the bar’s text.
- Scroll down and check the box next to Include an opt-out of Mailchimp tracking link.

- Click Save.
Landing Page Reports
Now that your landing page is published and working, it’s time to monitor its results. Mailchimp reports show all the insight about your landing page’s performance.
- To view a report, click the Campaigns icon, and Reports.
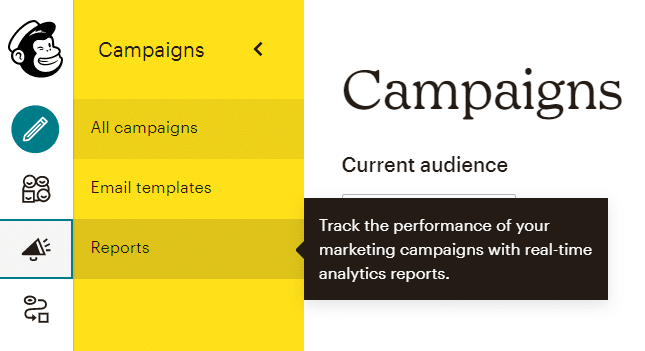
- Locate the landing page and click View Report.
Here's an overview of all the data you can collect and monitor within the Mailchimp report.
- Visits. It accounts for the number of times users visited your landing page.
- Unique visits track the number of people who viewed it for the first time. (Only available when Track with Mailchimp is enabled)
- Clicks. Total number of links, buttons and signups clicked.
- Conversion rate. A percentage showing the people who viewed your landing page and subscribed. (Only available when Track with Mailchimp is enabled)
If you include a signup form content block in your landing page, you’ll also be able to monitor these metrics:
- Subscribes. It shows the total number of clicks for the submit button on your signup form.
- Tags. See a list of the tags assigned to contacts that signed up.
- View segment. Check a list of contacts with selected tags.
Finally, you can track these metrics if you included product content blocks.
- Orders. A number of the product orders made through your landing page.
- Average order revenue, including shipping and taxes.
- Total revenue.
- Order history. Shows a record of the purchases made.
How to promote a Mailchimp landing page

Just as important as creating a landing page, is promoting it. Here we share a few effective ways to promote a landing page.
Social media
The first and most obvious step is to share the URL on your social media channels or profiles. You can always find the URL on the Campaigns page of your Mailchimp account.
Share your landing page via email
Create a campaign where you notify your audience about your landing page. A perfect way to link it is using a button content block.
Create an ad
Publish a Facebook and Instagram ad to reach a broader audience. You can create one ad from scratch or let Mailchimp create one for you. To do the latter, head to the Campaigns page and click Create Campaign.

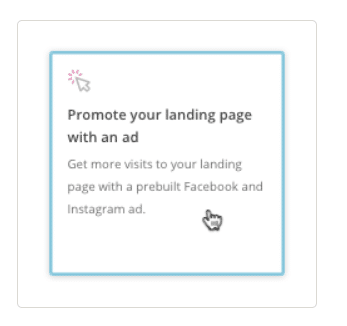
- Then click Let us guide you (See image below).
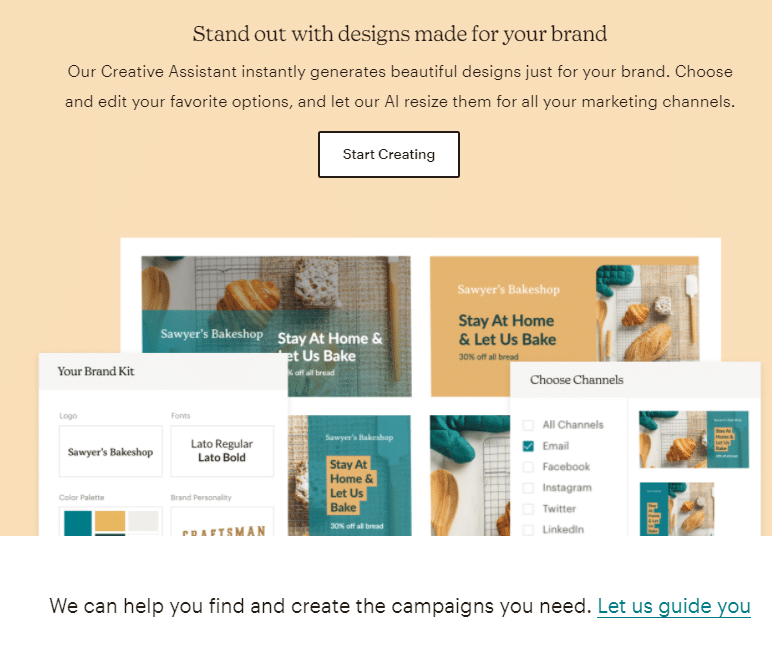
- Click Promote your landing page with an ad and follow the steps.
Why should I be using Mailchimp landing pages?
In a nutshell, here’s some reasons why you should be using Mailchimp landing pages.
- They’re free to build, so you can create an unlimited number of them.
- All templates are responsive, so you can make they'll look amazing on any device.
- They feature many tracking options: Mailchimp Track, Facebook Pixel and Google Analytics.
- Thanks to a partnership with Square and Stripe, you can sell your products or services directly from your landing page.
- Great versatility for creating a landing page regardless of your goals. Whether it’s in the form of a thank you note, a welcome automated email, a custom signup form or a standalone website to accompany a marketing campaign, (or all of the above for that matter). Mailchimp landing pages will get the job done in no time.
In conclusion, landing pages in Mailchimp are an easy, fast and inexpensive way to streamline your marketing efforts.
Mailchimp’s core is in email marketing, but a landing page, along with ads and other CRM tools, you’ll be driving more traffic to your website and increasing conversion.
Need inspiration?
At our Mailchimp Agency Duckduckchimp, we can help you create beautiful landing pages, in addition to establishing a customized marketing approach, adjusted to your business goals.
No Comments.